Showing posts with label HOTP. Show all posts

Sketch~N~Scrap Card Sketch #20

It's time for another Card Sketch from Sketch~N~Scrap!

I really enjoy being on this Design Team. Whenever I have been stuck with my card creativity, I turned to sketches I found on the web. They give me just the jump-start I need to encourage my mojo to surface. And I couldn't be happier to be a part of Sketch~N~Scrap. My mojo has been singing!

The sketch this time is by Lisa Hidy.


I love the fact that these sketches are a BASE for you to build from. Feel free to change it from an A2 size card to a 5x5" card, or flip it from vertical to horizontal. Move the embellishments a bit or substitute buttons for hearts, washi tape for ribbon, lace for circles. The sky is the limit!

I chose to do a 5"x5" card. 


I layered some textured cardstock on some kraft paper, which I placed on a rust colored card base. The lace doily cutout is from Gina's Designs.  The lace block at the bottom was created using a punch. I punched both edges (top and bottom) and trimmed it to my desired length. The "cording" through the buttons is simply the same cardstock cut into very thin strips. It gives the buttons and clean, finished look and keeps them coordinated with the card. Much easier that threading a needle or trying to shove ribbon into those tiny holes!


I love all the texture this card offers. From the laser cut die to the die-punched border, the textured paper and the dimensional buttons. And the best part? This can be used for a woman OR A MAN! The colors give it a more neutral, almost masculine appeal even though there are lacy elements.


For the inside of the card, I added a simple sentiment from a birthday stamp set from HOTP.


I added a little colored pencil coloring to a couple of the stamp elements to finish it off.

So, there you have it! I hope you head over to Sketch~N~Scrap to play along with this challenge. If you prefer scrapbook layouts, no worries! They have those too!!!! And you will find lots of inspiration from the Design Teams for both the scrapbook challenges and the card challenges. So head over there for great ideas, great inspiration, great sketches, and great prizes!

I would love it if you share this with your crafty friends! Crafters are the BEST people!

Til next time, keepin' it crafty!

Sketch~N~Scrap Card Challenge #19 for February

Good Day to You!

Today I have another card challenge from Sketch~N~Scrap that I hope you will play along with! 


This sketch provides an opportunity for lots of elements and embellishments. I really enjoyed putting this one together. Here is my card:


I layered a soft patterned paper on top of some pink cardstock, and mounted that on a white card base. I then added some sheer glistening ribbon and some pink satin and sheer ribbon, along with a piece of Ric-Rac trim.  The gold birdcage is from a set of Dazzles Stickers from HOTP.  I trimmed a piece of the pink cardstock to put behind the birdcage portion of the sticker to help it stand out from the ribbon. I used a few more Dazzles in the corners for the accents. The sentiment was hand written and cut out of white cardstock and mounted with dimensional tape.


In the closeup you can really see the shimmer of that gorgeous sheer ribbon. The sticker made a real stand-out embellishment and was a quick and easy finish to this card.

I hope you enjoyed my interpretation of the sketch. Please head over to Sketch~N~Scrap and see what the other Designers have come up with and, hopefully, you will be inspired to play along! There are always great prizes and plenty of inspiration!

If you like my card, please share it on Google+, Facebook, Pinterest, or wherever you find your crafty friends!  Thanks for letting me take up some of your blog world today!

Til next time, keepin' it crafty!

Sketch~N~Scrap Sketch Challenge #18

Thinking Spring!


It's time for another card sketch challenge at SNS and I am dreaming of SPRING!  I look outside my window and still see oodles of snow and cold (although at least we are above zero these past few days). My mind can't help but wander to warmer times. So let me share a little greenery with you!

Here is the sketch we're playing with:


A short time ago, I purchased some absolutely gorgeous hand-made papers from Art Papers Online. And I am so pleased to finally be using them in some projects! Here is my card:


Isn't that paper lovely? I used some veined leaves and greenery that I also purchased at APO. I love those veined leaves...they are so delicate and shimmery. The vellum tag was adorned with a rub-on and a little ribbon.

For the inside of the card, I added a sentiment from Hot Off The Press and a little more handmade paper.


I would love for you to head over to SNS and see all the amazing cards designed by my teammates. They are sure to inspire you to play along with us! We have some great prizes this month by our sponsor, Skyline Paperie.

Hope I was able to share a little warmth with you today.

Til next time, keepin' it crafty!

Sketch~N~Scrap

My First Sketch Challenge as a DT Member with SNS!

And I am so geeked! Each month, Sketch~N~Scrap posts layouts on their blog for both scrapbooks and cards. If you are feeling stuck or uninspired, I urge you to check out their blog. You will find inspiration and ideas in abundance. The Design Team is amazing!

The first card sketch of January was designed by Kelly Holifield.


Here is my interpretation:


I chose kraft cardstock in a couple different shades.  The floral and sentiment stamps are from Hot Off The Press, and the french script stamp is from Stampin' Up.  For the inside of the card, I kept it simple:


I like this card because it can be for a man or a woman. 

Now it is your turn! Head over to Sketch~N~Scrap and play along for a chance at this months amazing prize!  We have an amazing sponsor to kick off the New Year! January's sponsor is Skyline Paperie! Stephanie Ho is the owner and one of our very own Design Team members! Stephanie opened Skyline Paperie this past December and is offering up a wonderful prize full of crafty goodies to one randomly selected winner!

For more details and inspiration, go visit Sketch~N~Scrap

And, til next time, keepin' it crafty!

BIG ANNOUNCEMENT!!!!!


I am so excited to announce that I have made the Sketch~N~Scrap Design Team beginning January 1, 2014!  As my regular followers know, I am a huge fan of sketches. They always inspire me to think outside the box and be creative.  And not only does SNS offer great sketches for cards, they also do scrapbook layout sketches and contests and prizes....Oh My!!!

So to celebrate, I am playing along with their December card sketch.


Love this sketch!!!!  I don't think I would have thought to use so many different designs of paper on one card, but it works beautifully.  What do you think?


I even added a little somethin' to the inside!


Papers are from Pink Paisley, DCWV and My Mind's Eye.  Sentiments are from Hot Off the Press.  Other supplies are from my "stash".

I hope you will join me in following Sketch~N~Scrap and play along.  I look forward to sharing with you in the coming months!

Til next time, keepin' it crafty!

TRN Black & White

Doin' Christmas Up Right...In Black and White!


Merry Christmas, everybody!  I know it's still a little early, but I can't help being in the Christmas crafting groove with these awesome Robin's Nest supplies!  The theme this month is Black and White Christmas and I have been LOVING creating my cards!  If you missed my special post sharing some TRN Christmas cards, you can go here. (And remember...you'll receive 20% off any of the papers in the monthly theme at The Robin's Nest site.)

I chose to work with the Snow Covered Glitter Trees cardstock.  I have always been a fan of the beauty of snow-covered trees and this paper is breathtaking!  The second I saw it, I was inspired!


Here are my cut measurements:


I cut two pieces from the Snow Covered Glitter Trees to use on both the outside and the inside of the card. I also did that with the Red paper.  I stamped the deer on the section for the outside of the card and embossed them with black embossing powder.


I added some Red Glitter letters, to which I added some Xmas Red Stickles to give it a little more dimension and sparkle. I also added some red ribbon and some Dew Drops to accent the letters.


I created a Poinsettia style flower using the red diamond shaped Dew Drops with a black Dew Drop center.


For the inside of the card, I mimicked the basic style and matting of the front of the card and added a sentiment using Versamark ink and white embossing powder.


Supplies Used:

Purple Cows Co-Sponsoring This Month!

Also this month, Purple Cows is generously co-sponsoring!  So I decided to do a second card featuring a beautiful border punched with the Tonic Studios Vine Strip Pattern Punch.


This card features not only a beautiful border, but a very stunning Flame Swirl background (The Robin's Nest) stamped with gold embossed trees (Stampin' Up).  Outline stickers finish off the edges and a sentiment highlighted with Dew Drops completes the card.  Here are the measurements and supplies used:


I mounted the flame cardstock onto the gold cardstock, and then mounted that onto the black card base. I added outline stickers along the border and stamped the trees with Versamark. I then heat embossed them with gold embossing powder.


I then embossed the sentiment with gold onto black cardstock, and mounted that on the card with a couple of gold Dew Drops.  I added a touch of glitter to the main star.


Here are a couple of close-ups so you can really see the detail:


For the inside of the card, I kept it very simple:


I have to say that those Tonic punches are rock stars!  The gold cardstock that I used was fairly heavy and the punch went through it like butter with little pressure from me.  I can't wait to get my hands on a couple more of these little giants.

Supplies used:
Thanks for letting me share my cards with you!  I hope you will be inspired to try these beautiful Robin's Nest papers and embellishments.  And be sure to visit our co-sponsor this month: Purple Cows.

And stay tuned...The Robin's Nest and SmoothFoam are co-sponsoring an ornament blog hop here starting November 15th (tomorrow)!  See the info in my side bar!

Til next time, keepin' it crafty!

Glitter Swirl from The Robins Nest and Craft Room Updates

Lots to Share Today!

Oh boy, have I been busy!  Those of you who are regular readers of my posts know how often I update, rearrange and reorganize my craft space (newbies can see my posts here). Well...whoops I did it again!  I had some rebates to use so I bought myself a new desk chair (bye-bye backaches!), a couple more cube units, and a computer desk (no more board-on-a-ledge!).  And with all that new stuff came the rearranging bug.  Out with the hutch (which I liked but was not really practical and didn't provide very much storage for it's size) and so-long to the short bookcase.  I have to say I'm loving the new look and feel.  It's bright (thanks to the ugly lights my hubby rigged for me) and clean and cheerful.  Here is one of my goofy little videos giving you a quick view of my updated digs:


And since my room is again my happy place, I have been feeling very creative...which is good since I have a LOT of projects to get done.  Besides the Design Team commitments (The Robins Nest and Fantabulous Cricut), I have several things I am working on for my niece's wedding on September 14th.  They are all projects of love though, so I am happy to be busy!

I have two cards to share with you today using the gorgeous glittery Classic Glitter Swirl cardstock from The Robins Nest.  


For this B&W card, I started with a base of 6.25" x 8" and scored at 4".  For the topper, I cut the glitter swirl cardstock using a template from HOTP.  I adhered the topper on some black cardstock and cut around the shape to create a mat.  I wrapped some black ribbon around the topper and attached that piece to the card base.  I tied a bow and attached that to the ribbon with a glue dot.  I stamped and embossed the sentiment, then added a few pearls and a couple of Dazzles in the corners.


Supplies Used:  Classic Glitter Swirl cardstock (The Robin's Nest); White Dew Drops (The Robin's Nest); Black and white cardstock (Recollections); Design Tool #1 (HOTP); Stamp: Heard from the Heart (Stampin' Up!); Dazzles (HOTP); Versamark ink; Black embossing powder (Stampin' Up!), Ribbon (Unknown)


This pink card features the Pink Glitter Swirl cardstock.  I used a card sketch from Operation Write Home as my layout inspiration.  I started with a 5.5" x 8" base, scored at 4.25".  I cut the glitter cardstock to 3" x 5.5" and adhered that to the card base. I added some Dazzles strips to the top and bottom of that layer.  I added a .75" x 5.5" strip of black cardstock to the glitter layer.  I then cut a piece of pink cardstock at 2" x 3.75", distressed and inked the edges, and adhered that to the card.  I used a feather butterfly and added some Dew Drops for accents.  I added a few more Dew Drops to the black strip.


Supplies Used:  Classic Glitter Swirl cardstock (The Robin's Nest); Pink Dew Drops and Pink Tear Shaped Dew Drops (The Robin's Nest); Black and pink cardstock (Recollections), Feather Butterfly (Unknown)

I hope I didn't overwhelm you today with all my ramblings.  Glad you could join me!  And before I go, here is a quick pic of one of my little helpers, Mimi.  I have 7 dogs, but this one seems to be in here whenever I am. So she got the photo!


Til next time, keepin' it crafty!

The Robin's Nest Classic Glitter Swirl

It's the Glitteriest!!


I am talking about the awesome Classic Glitter Swirl cardstock from The Robin's Nest. As someone who always adds some bling to her creations, I am naturally in love with this cardstock.  Photos just don't do it justice.  Trust me.  It's glittery.

And since that is the cardstock that is being featured all month, I am so happy to be able to use it in my project.  Here is the card I designed.


I used a 4x6 inch card base and add the Classic Swirl Cardstock for my matting layer.  I stamped and embossed the image on pink cardstock, and mounted it on a black layer.  I then used Versamark on the edges and used some Zing embossing powder, heat set, and mounted that on a larger piece of pink cardstock matted with black.  I colored in the flowers with markers and added a tiny tag with the sentiment "merci". 


Before mounting that on my card, I added some black satin ribbon. You can see where I tucked in a knot of the ribbon to add some dimension.  I added some Dew Drops and Dazzles and voila!  A blingy, classy, twinkly thank-you card is born.


For the inside of the card, I added the same Classic Glitter Swirl cardstock and pink cardstock mounted with a black mat.  I used some rub-ons to complete the sentiment.

I hope you enjoyed my card.  Wouldn't you love some of that glittery goodness for your own stash?  

Til next time, keepin' it crafty!

Supplies used:

Robin's Nest DT Tryouts

ROBIN'S NEST DT WANNA-BE!


Hey, crafty friends!  I found a new source for my "habit".  Actually, they aren't new.  They've been around for a while and are celebrating their 15th Anniversary.  They are new to me, though.  I came across them a short time ago and was impressed with the wonderful selection of products they have, especially their Dew Drops.  Who is this amazing group?  Why, it's The Robin's Nest!


I suggest you take some time and check out all the amazing products they have to offer.  Go ahead....I'll wait for you.

Did you do it?  Were you amazed?  

Glad you're back, cuz I need your good vibes!  They are having a Design Team call and I am R.E.A.L.L.Y "jonesing" to get on this team!  Those of you that follow me know I always like to include a little bling on my projects, and their Dew Drops could be SO addicting for me.  Well, DT or not, I'll probably still be addicted to them.  lol

If you'd like to see some great ideas and use of of their products, check out their blog: http://chatteringrobins.blogspot.com

So, I thought and I doodled and dug and designed.  And heeeeeeeeere's my card:


I really love the color combination.  Soft with a kick.  The black accents just makes the pink colors really pop.  And there's a soft little bling element too.  What do ya think?  Here's a couple more pics, including the inside of this card (which I also love!).


Ok, so here is what I used:
  • Black Cardstock from Recollections - card measures 5.5" x 5"
  • Designer Cardstock from DCWV's Mariposa Matstack
  • Adhesive Faux Pearls from Recollections (wouldn't the Dew Drops look fabulous here?)
  • Stamps from Paper Wishes' HOTP: Serendipity Flowers
  • Black Ink is Staz-On
  • Ribbon is from my "stash"
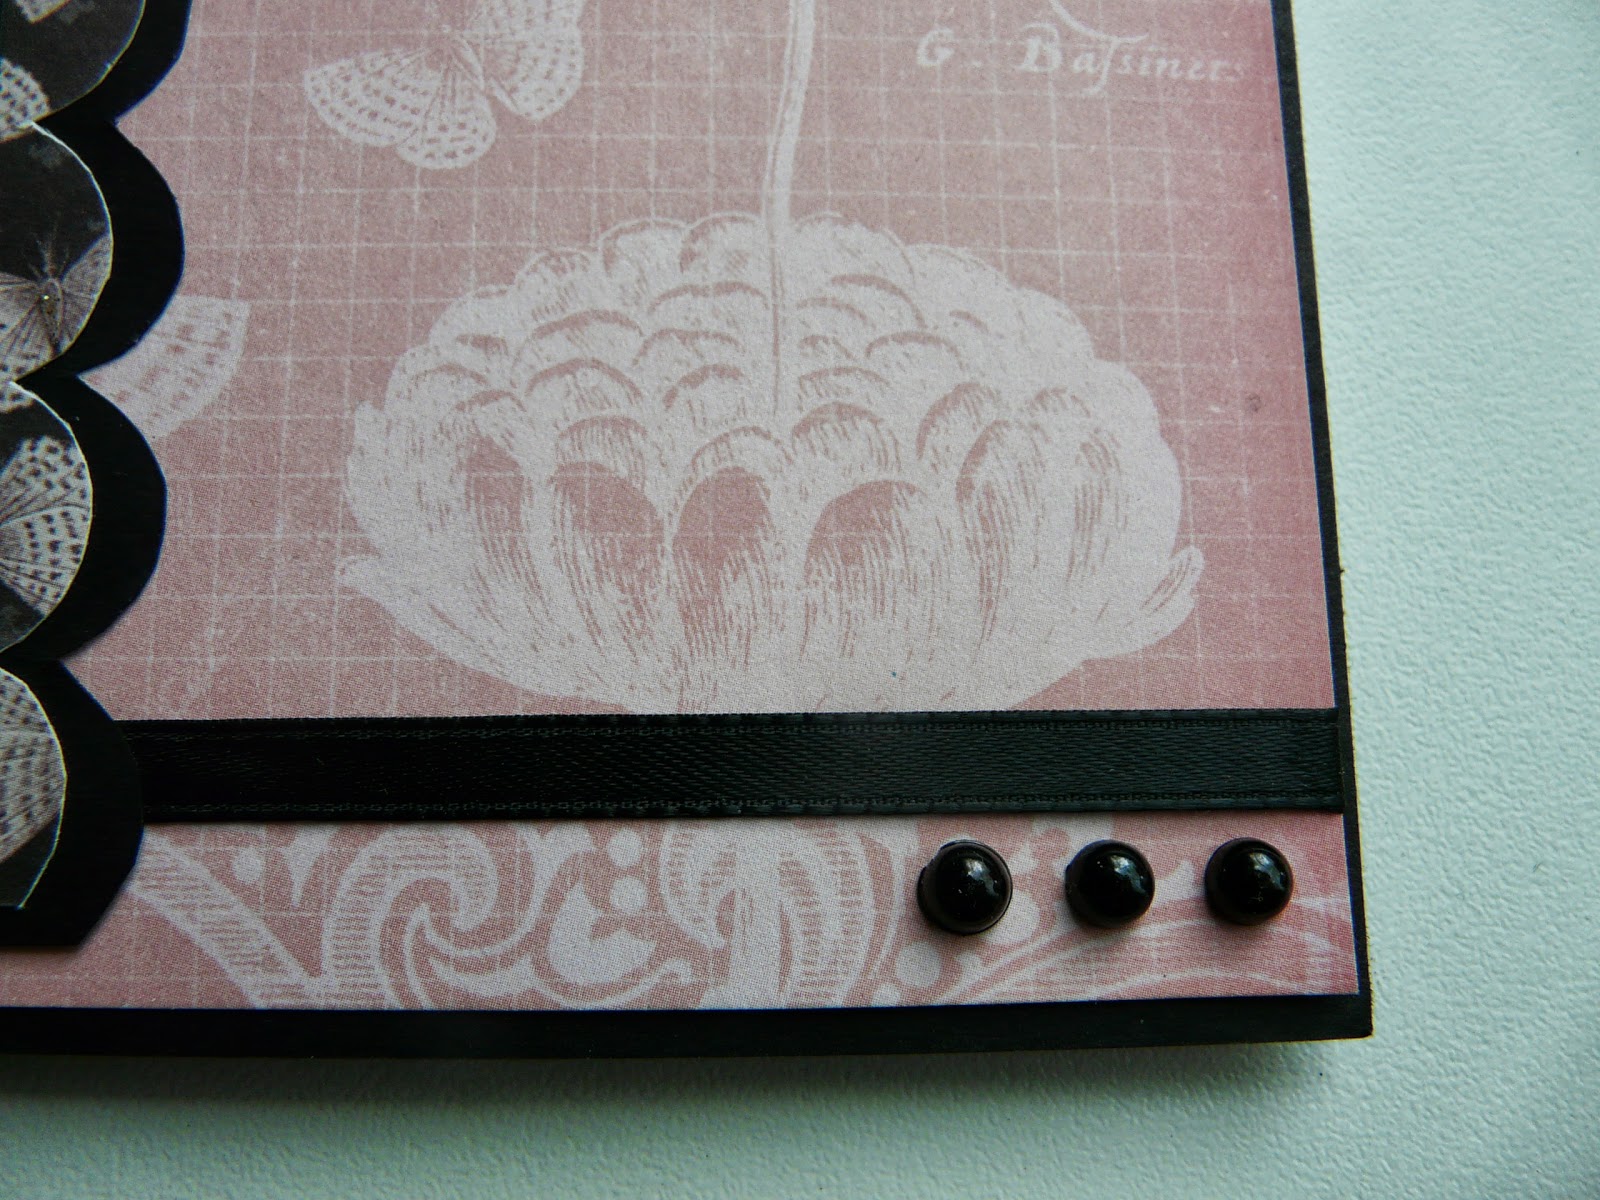
I first cut the card base and wrapped the ribbon on the first layer of designer paper.  I hand cut the scallop mat and top layer using a template for the design.  I cut and adhered the base for the inside of the card, as well as the mat and top layer.  I then stamped the butterfly and sentiment on the inside.

The front layers were cut and adhered, the stamping added, and then I added the black jewels.

Well, there you have it!  Keep your fingers cross and show me some love!  


Til next time, keepin' it crafty!


Sweet Sunday Sketch Challenge #175

It's a Sunday Challenge, but I did it on a Monday!

Hey, crafty people!  I got to play with another wonderful challenge.  Today it's from The Sweetest Thing...their Sweet Sunday Sketch Challenge #175.  The challenge was to use this sketch:


It just so happens that I got my Stamps Only Personal Shopper Kit from Paper Wishes today.  The kit is called Flower Silhouettes.  At first glance, I wasn't sure I was all that crazy about the set since I already have so many floral stamps.  But after this challenge card was completed, I was head-over-heels in love with it.  If you've never used HOTP clear stamps, they are wonderful quality stamps.  Ranting, I know. I'll get back on task now.

Here is the card I created:
Sweet Sunday Sketch Challenge #175
I used white cardstock for the base of the card, the circle and the flower cutout.  The solid green paper was from my scrap stash.  The inks used were Old Olive and Pretty In Pink (Stampin' Up!) and Pink (Memories Direct).  The lovely rose background paper was from K&Company.  I was amazed at how well the stamps went with this paper.  The lace border is punched velum using a Martha Stewart punch. If you look closely at this next photo, you can see the double lace row at the bottom.


I have discovered just how much fun it is to get involved in these sketch challenges.  I hope you will join me and have some fun too!

Happy Crafting!

Saturday Sketch Challenge #748

Happy April, Crafting Friends! I hope your month has started out good and continues in a positive way.  I'm back today with another proj...