THE ROBIN'S NEST DESIGN TEAM HAS BEEN ANNOUNCED

And I am happy to say I have been selected for a third term. 


With a new term comes a new look for my blog too! I am looking forward to sharing all the wonderful products from The Robin's Nest through my designs and those of the other fabulous Design Team Members. Visit The Robin's Nest Blog and see for yourself what's happening!

http://www.chatteringrobins.blogspot.com/


Hope you come play along!

See you very soon!

Til next time, keepin' it crafty!

THE ROBIN'S NEST PROJECT

A 3D Box Card for a Special Surprise!

Hi, all. So glad to be back crafting after such a long time. Followers know that I broke my femur back in the middle of May and have been out of commission. Remember this?

http://rodonner.blogspot.com
OUCH!!!!
Well, I had a craft area where I stood to craft, which left me uncrafting (is that a word?) for way too long. I'm still on a crutch, but have been able to revamp my craft room with a beautiful new desk that I got on clearance at Office Depot (60% off!) and now I can sit and craft to my heart's content. So get ready....

http://www.shop.robinsnest-scrap.net/main.sc


The card I'm featuring today is made with The Robin's Nest cardstock. I love their products and was very happy to be able to play with them again. I am applying for the Design Team again, so here is my project.

http://rodonner.blogspot.com

To start with, I used my Silhouette Cameo to cut a 3D Box Card designed by Samantha Walker. Here is what they pieces look like set up on my screen.

http://rodonner.blogspot.com

http://rodonner.blogspot.com

I used the TRN Red Classic Swirl for the box part of the card, and TRN Valentine Stripe for the accents.

http://rodonner.blogspot.com

Since the score lines are already cut with the design, all I had to do was fold and add some scoretape.

http://rodonner.blogspot.com

I adhered the accent pieces to the top and inside of the card and assembled the box.

http://rodonner.blogspot.com

It went together so quickly and the papers just pop with each other!

http://rodonner.blogspot.com

Once folded closed, the band goes around to keep it from popping open.

http://rodonner.blogspot.com

I found some cut little stickers in my stash from The Paper Studio called Christmas Holly. I placed them on both the outside and inside of the card.

http://rodonner.blogspot.com

http://rodonner.blogspot.com

I added a couple more stickers and some green Dew Drops (which are stuck down with Patina Stickles to add a little glitter to them).  This 3D Box Card is perfect to tuck in a gift card or other small item. I think I'll be making several of these for the holiday season.

http://rodonner.blogspot.com


Supplies used for this project:
   Red Classic Glitter Swirl Cardstock by The Robin's Nest
   Valentine Stripe Cardstock by The Robin's Nest
   Green Dew Drops by The Robin's Nest
   3D Box Card by Samantha Walker
   Christmas Holly by Paper Studio
   Patina Stickles
   Scoretape

Wish me luck on the Design Team!

Also, as a bonus, I have included photos of a few other cards I whipped up recently.  Hope you like them!

http://rodonner.blogspot.com

http://rodonner.blogspot.com

http://rodonner.blogspot.com

http://rodonner.blogspot.com

Hope you are all inspired and like what I have to share with you today.

Til next time, keepin' it crafty!


WHERE HAVE I BEEN?????

I Took A Trip!


And not the good kind. Not the kind where you take pictures and relax and enjoy yourself.

On May 12th, the wife of my boss/friend passed away unexpectedly. It was a crazy time. I spent the week trying to help him and his sister get everything in order and plan the funeral, all while taking care of business at the office while at his house.

On May 16th, doing my "helping" stuff, I took a trip...down the stairs...well, actually one stair...and totally broke my femur.  Talk about pain!!  I think if I would have screamed a tiny bit louder and higher, I would have shattered the windows like a full-blown opera singer.  It was AWFUL!

Femur Fracture....also see the spiral fracture on the bottom half!
I sat on the stairs for half an hour trying to get myself under control. The teeniest movement sent me into more screaming. Not sure where those screams were coming from, but I think the devil may have had a hand in it.  All the while, my poor already-distraught boss who had to deal with ambulances at his house and the loss of his wife only a few days before was pacing back and forth asking if he could help me or what I wanted to do.

I'm not one who goes to the doctor for much of anything (since I work for one and am not a fan of doctors in general). So when I saw the curve in my upper thigh and felt the nausea and shock building, I said "call the ambulance". They got there quickly and spent a great amount of time trying to get the pain enough under control that they could splint my leg and bring me down (of course I was on the top of the stairs, not the bottom). After much screaming and crying (mine, not theirs), they got me to the ambulance and drove me very gently to the hospital where I had a rod inserted and screwed in and the top part of my total knee replacement replaced.

And now....
I wasn't even able to go to the funeral, which really angered me.

As a matter of fact, I've been angry since. Here I was, trying to be helpful and supportive, and this is what I get. At the beginning of Summer. With new golf grips, my pool just opened and our seasonal campsite awaiting. NOT FAIR!

I had to resign from all my design teams since my craft room is designed to be utilized while standing. I couldn't even get in there, let alone make something. That totally depressed me. And made me angrier.

I spent about a month in a wheelchair and have been on crutches a few weeks. I have about another three weeks or so on crutches before I get re-evaluated by my orthopod.

It's been a very rough couple of months. I finally was able to get some things organized a little bit in my craft room and hope to be able to get back in there and start crafting again soon.

My anger is finally starting to abate, but my frustration level is still pretty high. I'm used to doing things for myself and the need to depend on others for simple things I'm used to doing is difficult for me.

But I'm improving. Day by day. I went back to work after a week and am still on short hours, although they are gradually increasing toward a full day. I'm up to about 6-7 hours a day. Pretty pooped by the time I get home, but at least I'm getting on.

So, hopefully, and with the grace of God, I will be back cluttering up your inbox soon with some great new creations. I'll be scoping the net for some great new Design Teams for which I can apply (if you know of any, let me know!). And life will be back to normal, whatever normal is.

Thanks for letting me share a piece of my life with you.

Til next time, trying to keep it crafty!

FCCB #210: Celebrate Mom


 Happy Monday and welcome to another Monday challenge!


Challenge #210 Celebrate Mom

This Weeks Sponsor

$50.00 Giftcard to SVG Cuts


~This Weeks Challenge~

Celebrate Mom
Create a project that celebrates mom.

To qualify for the prize, be sure to use at least 1 Cricut cut on your project 
and if it's not obvious, let us know what cartridge you used.

Every Day Should Be Mother's Day

I hope all the mom's out there had a wonderful day. I think pampering should be in order EVERY day!

This week's challenge is all about Moms. And SVG Cuts! With the new Cricut Explore, you now have the capability to cut svg files. That feature opens up a whole new world of cutting opportunities!

And SVG Cuts has graciously sponsored FCCB this week, so we could all get a taste of the wonderful files they offer and the fun you can have with your Cricut Explore (or any other electronic cutter that can utilize svg files, such as the Silhouette Cameo).

For my project, I made a couple of Mother's Day cards using the Edisto Island collection from SVG Cuts.


I used some beautiful DCWV papers for this project. And all the layers and elements of this card are included in the collection when you download it, along with pictures of all the projects. Look at all the great stuff in this one collection...and they have many, many more!


Here are all the elements cut out. I didn't have to resize any of the files. Just open and cut. The card base is even pre-scored so you don't have to figure out folds!


First step is to fold the base.


Then begin assembling each element. I started with attaching the label with some brads.


Then I assembled the adorable house.

Then the trees.


And finally the bird and flowers.


Once all the embellishments are complete, it's time to build the card.


A simple hand lettered greeting, and the card is a masterpiece!


The dimension and layering of these cards is truly amazing.


I have to say, my mom LOVED her card. She's all "Oooooh, look at that! I love 3D cards. Look at this...oh, wait, you made it. You already know how cool it is."  LOL.  Yeah, mom. Awesome card for an awesome mom.


Hope you enjoyed my projects as much as my mom did! And I sure hope you play along with us at FCCB! Great fun, great ideas, great prizes!

Til next time, keepin' it crafty!

It's Wobble Time! May 9, 2014

Turtley Cool, Dude!


Toodle Noodle Creative:  http://rodonner.blogspot.com

Today I have a super-simple card perfect for a young boy! Since I don't have many (or any) little boy birthday cards in my stash, I took this opportunity to add a really cute one.

Toodle Noodle Creative:  http://rodonner.blogspot.com

I used up some scrap paper and stickers from my stash to create this adorable card. The turtle is from the Life Is A Beach Cricut Cartridge. I added some googley eyes an Action Wobble to bring him to life!


Toodle Noodle Creative:  http://rodonner.blogspot.com

For the inside of the card, I drew the sentiment using my Cricut and the Cricut Pens.  This cute play on words is sure to make any little boy giggle.

Toodle Noodle Creative:  http://rodonner.blogspot.com

Hope you got a chuckle today. If you would like to see more ideas for using Action Wobbles, check out their blog (details below). You will find lots of cute projects from the Design Team!

Til next time, keepin' it crafty!


Stuff You Should Know:

The Robin's Nest: Beach Collection

I LOVE THIS COLLECTION!!!

The papers and embellishments in the Beach Collection (20% off all month!) from The Robin's Nest are so deliciously fun, I couldn't stop playing with them.

You all know I'm a card-maker. But sometimes a paper is just too pretty to cut down for a card. The Seashore Glittered Cardstock was one of those papers. The rich teal and sparkly brown beach scene had scrapbook page written all over it. Well, by the time I got done with it, it did!


I used some banners from Gina's Designs along with some stickers and rub-ons to create the sign post. I slid the base of the post under a slit I put in the paper and added a cute sandpiper.


The title of the page started out as a sticker that just said "Beach". I added some stickers and rub-ons, and a touch of twine, to complete the title element. I added a little more twinkle to the word "Beach" using a bronze Wink of Stella marker.


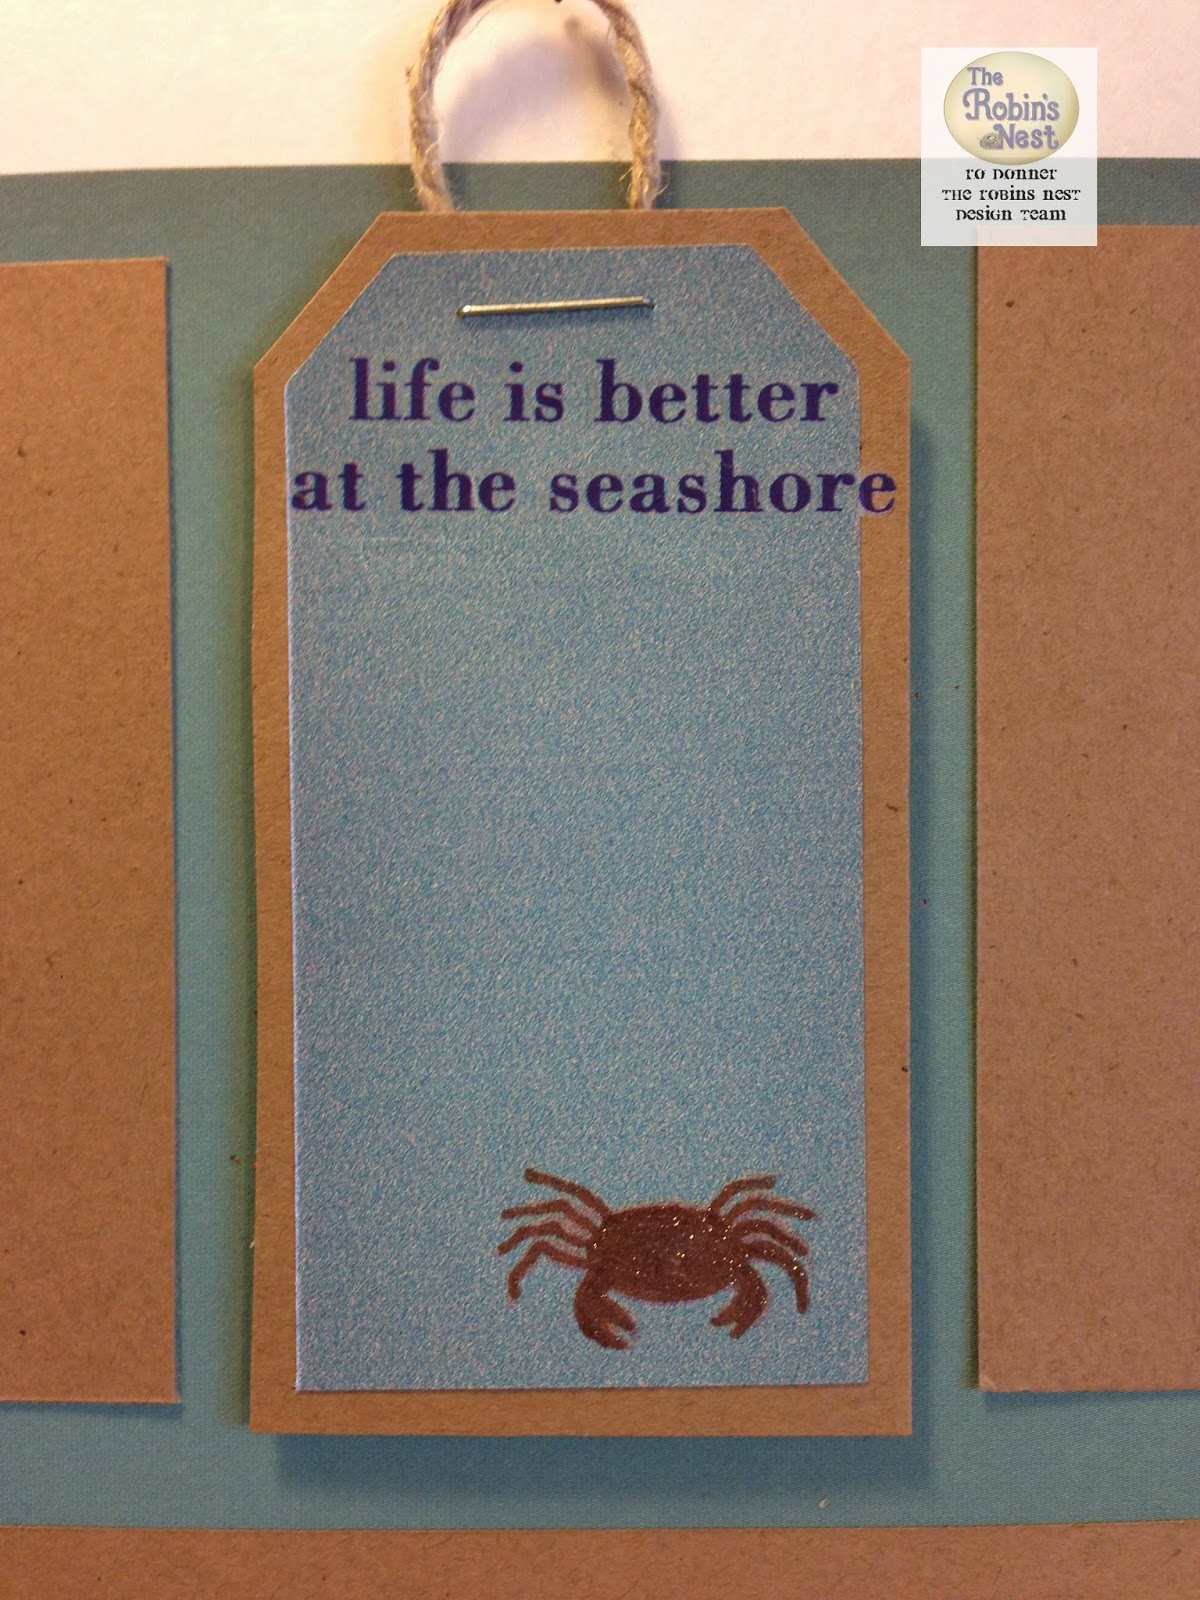
I used another tag and added a rub-on sentiment and piece of twine. This will be used for a little journaling.  The crab was also highlighted with the bronze Wink of Stella marker. The kraft squares on the layout will mat the pictures, just as soon as I decide which ones to use. Or maybe I should just take a vacation and get some new photos for the layout! Hmmm...I like that idea better!


I couldn't stop there though. I grabbed the template from our co-sponsor this month, Green Sneakers, and created a seashell keepsake box.


I used another sticker from TRN and added a sticker and some twine.


I also added some rub-ons and vellum stickers I found in my stash, along with a few teal Dew Drops.


It will make a great little box to hold some shells and other beach objects. The inside of the box didn't need any work as this gorgeous paper is two-sided.


I hope you enjoyed my projects and are inspired to check out the Chattering Robin's Blog. They have so many beautiful projects, your head will spin.

Til next time, keepin' it crafty!


Robin's Nest Supplies Used:

Saturday Sketch Challenge #748

Happy April, Crafting Friends! I hope your month has started out good and continues in a positive way.  I'm back today with another proj...