Showing posts with label DCWV. Show all posts

Sketch~N~Scrap Card Sketch #21

Faith and Begorrah!

Sure and By God! That's what that means. Did you know that? That's my little tidbit of knowledge for today. And sure and by God, I have another card for you for the Sketch~N~Scrap Challenge!

Here is the sketch by Kelly Hollifield:


And since St. Patty's Day is just around the corner, I whipped up a card just for the occasion!

Toodle Noodle Creative: http://rodonner.blogspot.com

I love the corrugated cardstock from DCWV which I used as the first mat on my card base. I used a piece of white cardstock that I scallop punched along both edges and, on top of that, I used a green embossed piece of paper with another strip of the corrugated paper on top of that. I edged the tag and stamped the sentiment in orange.

I added a piece of washi tape at the top and two enamel dots at the bottom for balance. I real four leaf clover finishes off this lucky card.

Toodle Noodle Creative: http://rodonner.blogspot.com

I used a computer generated sentiment for the inside.

Toodle Noodle Creative: http://rodonner.blogspot.com

I hope you are inspired to play along with us over at Sketch~N~Scrap. The prize this month is a $20 gift certificate to Scrapbook.com! Head over to SNS for all the details and to see all the inspiration from the Design Team.

Til next time, keepin' it crafty!

BIG ANNOUNCEMENT!!!!!


I am so excited to announce that I have made the Sketch~N~Scrap Design Team beginning January 1, 2014!  As my regular followers know, I am a huge fan of sketches. They always inspire me to think outside the box and be creative.  And not only does SNS offer great sketches for cards, they also do scrapbook layout sketches and contests and prizes....Oh My!!!

So to celebrate, I am playing along with their December card sketch.


Love this sketch!!!!  I don't think I would have thought to use so many different designs of paper on one card, but it works beautifully.  What do you think?


I even added a little somethin' to the inside!


Papers are from Pink Paisley, DCWV and My Mind's Eye.  Sentiments are from Hot Off the Press.  Other supplies are from my "stash".

I hope you will join me in following Sketch~N~Scrap and play along.  I look forward to sharing with you in the coming months!

Til next time, keepin' it crafty!

Robin's Nest DT Tryouts

ROBIN'S NEST DT WANNA-BE!


Hey, crafty friends!  I found a new source for my "habit".  Actually, they aren't new.  They've been around for a while and are celebrating their 15th Anniversary.  They are new to me, though.  I came across them a short time ago and was impressed with the wonderful selection of products they have, especially their Dew Drops.  Who is this amazing group?  Why, it's The Robin's Nest!


I suggest you take some time and check out all the amazing products they have to offer.  Go ahead....I'll wait for you.

Did you do it?  Were you amazed?  

Glad you're back, cuz I need your good vibes!  They are having a Design Team call and I am R.E.A.L.L.Y "jonesing" to get on this team!  Those of you that follow me know I always like to include a little bling on my projects, and their Dew Drops could be SO addicting for me.  Well, DT or not, I'll probably still be addicted to them.  lol

If you'd like to see some great ideas and use of of their products, check out their blog: http://chatteringrobins.blogspot.com

So, I thought and I doodled and dug and designed.  And heeeeeeeeere's my card:


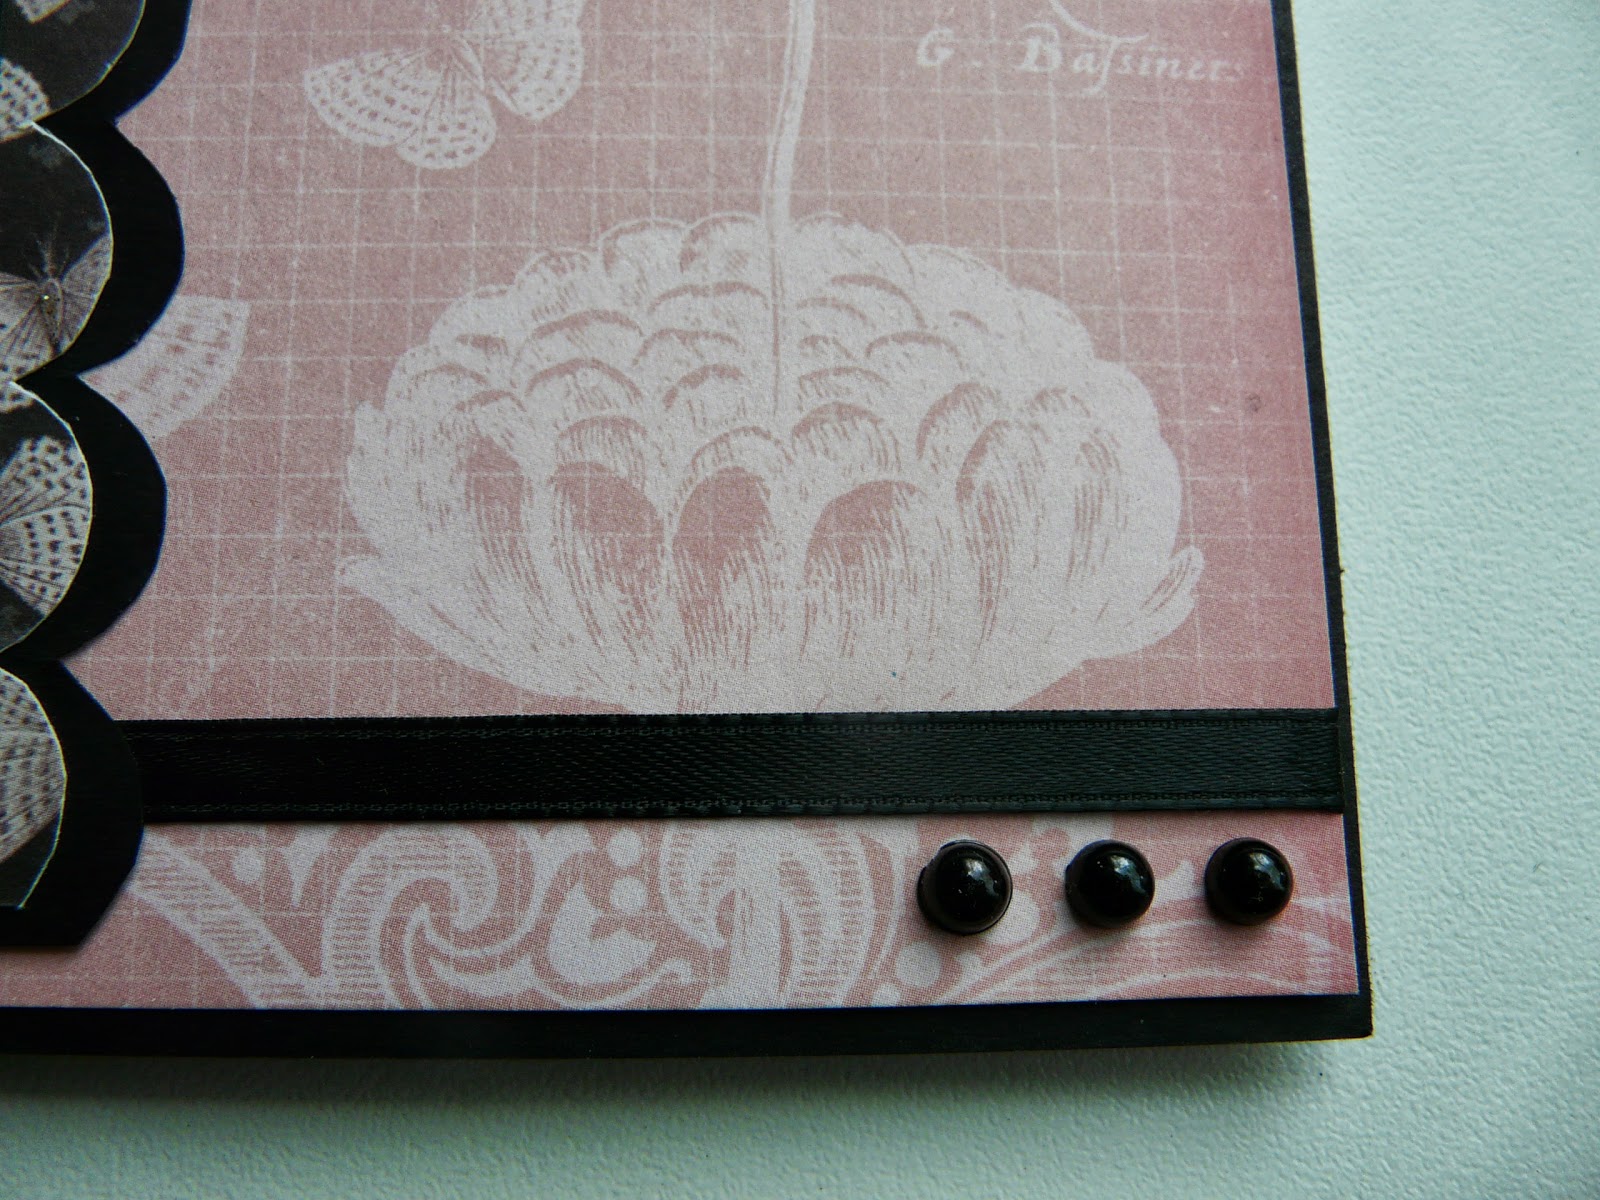
I really love the color combination.  Soft with a kick.  The black accents just makes the pink colors really pop.  And there's a soft little bling element too.  What do ya think?  Here's a couple more pics, including the inside of this card (which I also love!).


Ok, so here is what I used:
  • Black Cardstock from Recollections - card measures 5.5" x 5"
  • Designer Cardstock from DCWV's Mariposa Matstack
  • Adhesive Faux Pearls from Recollections (wouldn't the Dew Drops look fabulous here?)
  • Stamps from Paper Wishes' HOTP: Serendipity Flowers
  • Black Ink is Staz-On
  • Ribbon is from my "stash"
I first cut the card base and wrapped the ribbon on the first layer of designer paper.  I hand cut the scallop mat and top layer using a template for the design.  I cut and adhered the base for the inside of the card, as well as the mat and top layer.  I then stamped the butterfly and sentiment on the inside.

The front layers were cut and adhered, the stamping added, and then I added the black jewels.

Well, there you have it!  Keep your fingers cross and show me some love!  


Til next time, keepin' it crafty!


Saturday Sketch Challenge #748

Happy April, Crafting Friends! I hope your month has started out good and continues in a positive way.  I'm back today with another proj...