Showing posts with label Step Card. Show all posts

Technique Junkies March New Release Blog Hop

Happy March, Inky Friends!

It's a new month with some new inspiration! I am loving the March new releases from Technique Junkies. And I'm excited to share some projects with you featuring some of the new stamps. All new releases for March are available through Technique Junkies. Order by March 8, 2017 and receive a 15% discount (discount will be reflected in your cart at checkout...no code needed).

If you have arrived from the very talented and creative Kathy Stacy, you are on the right track! If not, you may want to start at the beginning of the hop (HERE) so you don't miss any of the awesome creativity the Design Team has to share.

Faux Chalkboard Stamping
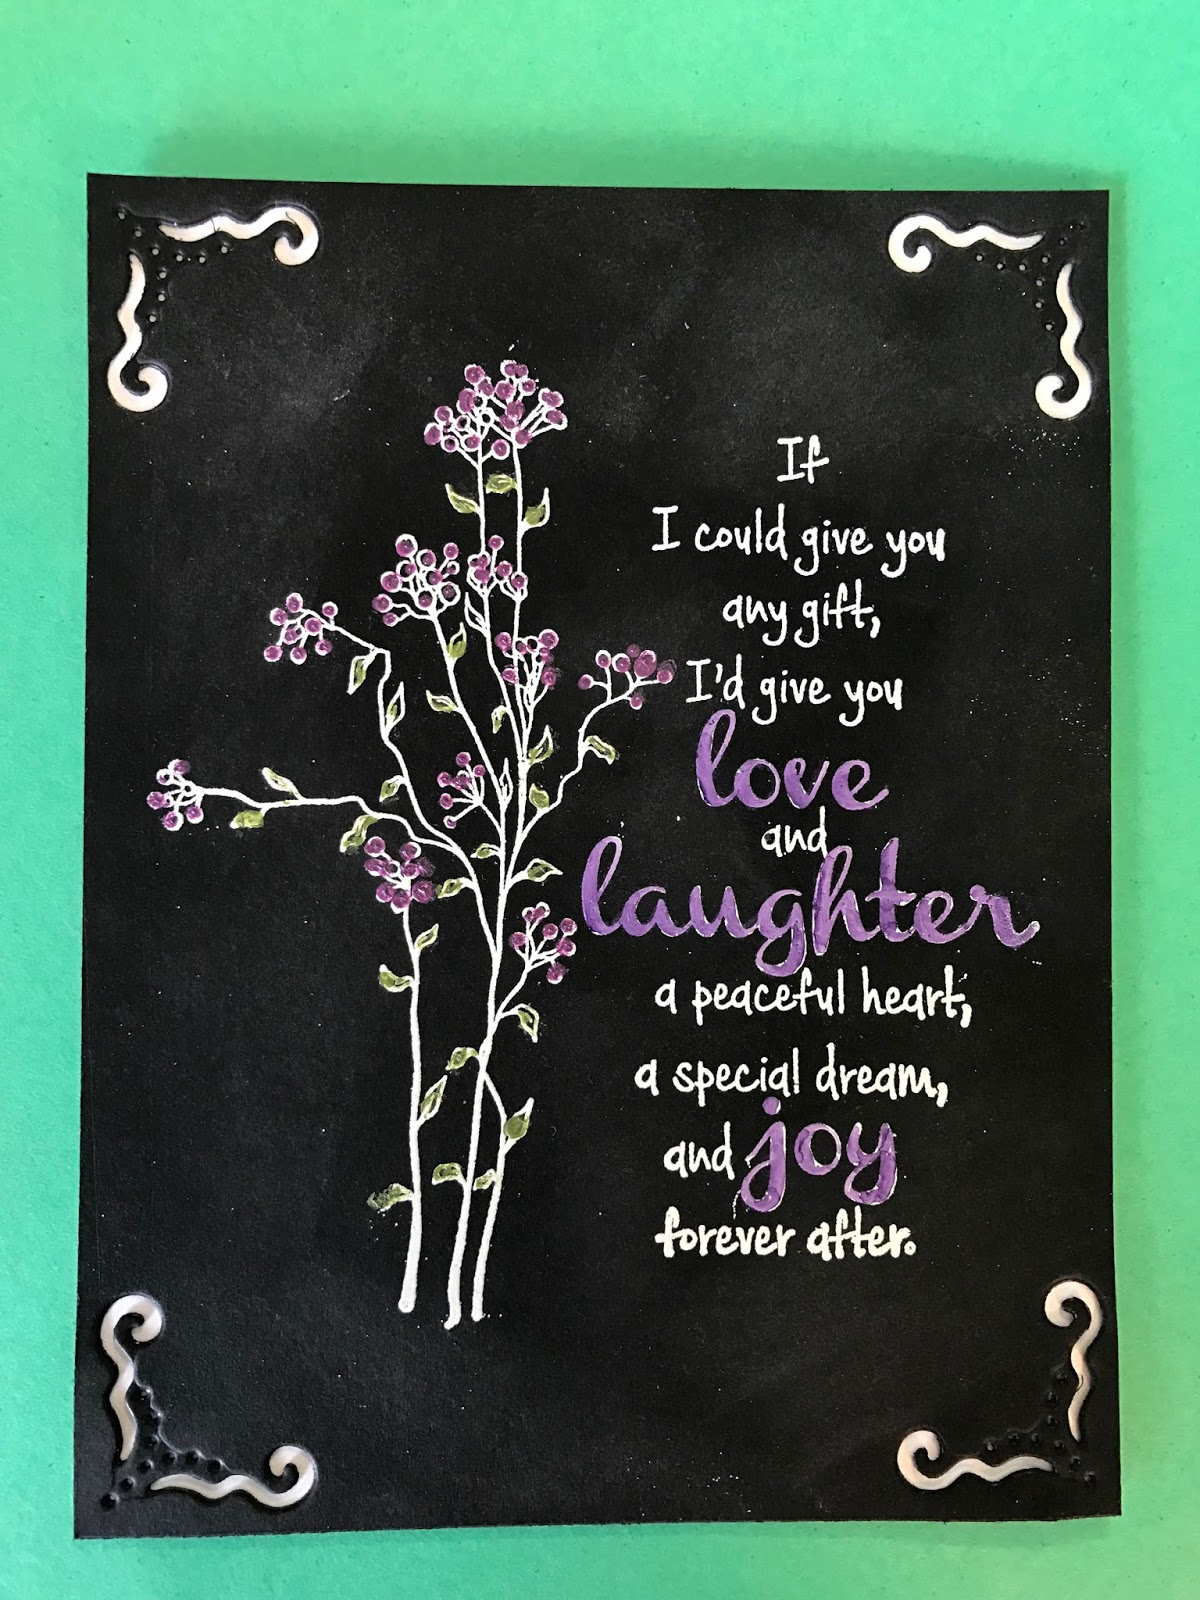
Love and Laughter Floral
This technique has been around for a little while, ever since the whole chalkboard craze started. But I'm going to show you just how easy it really is!
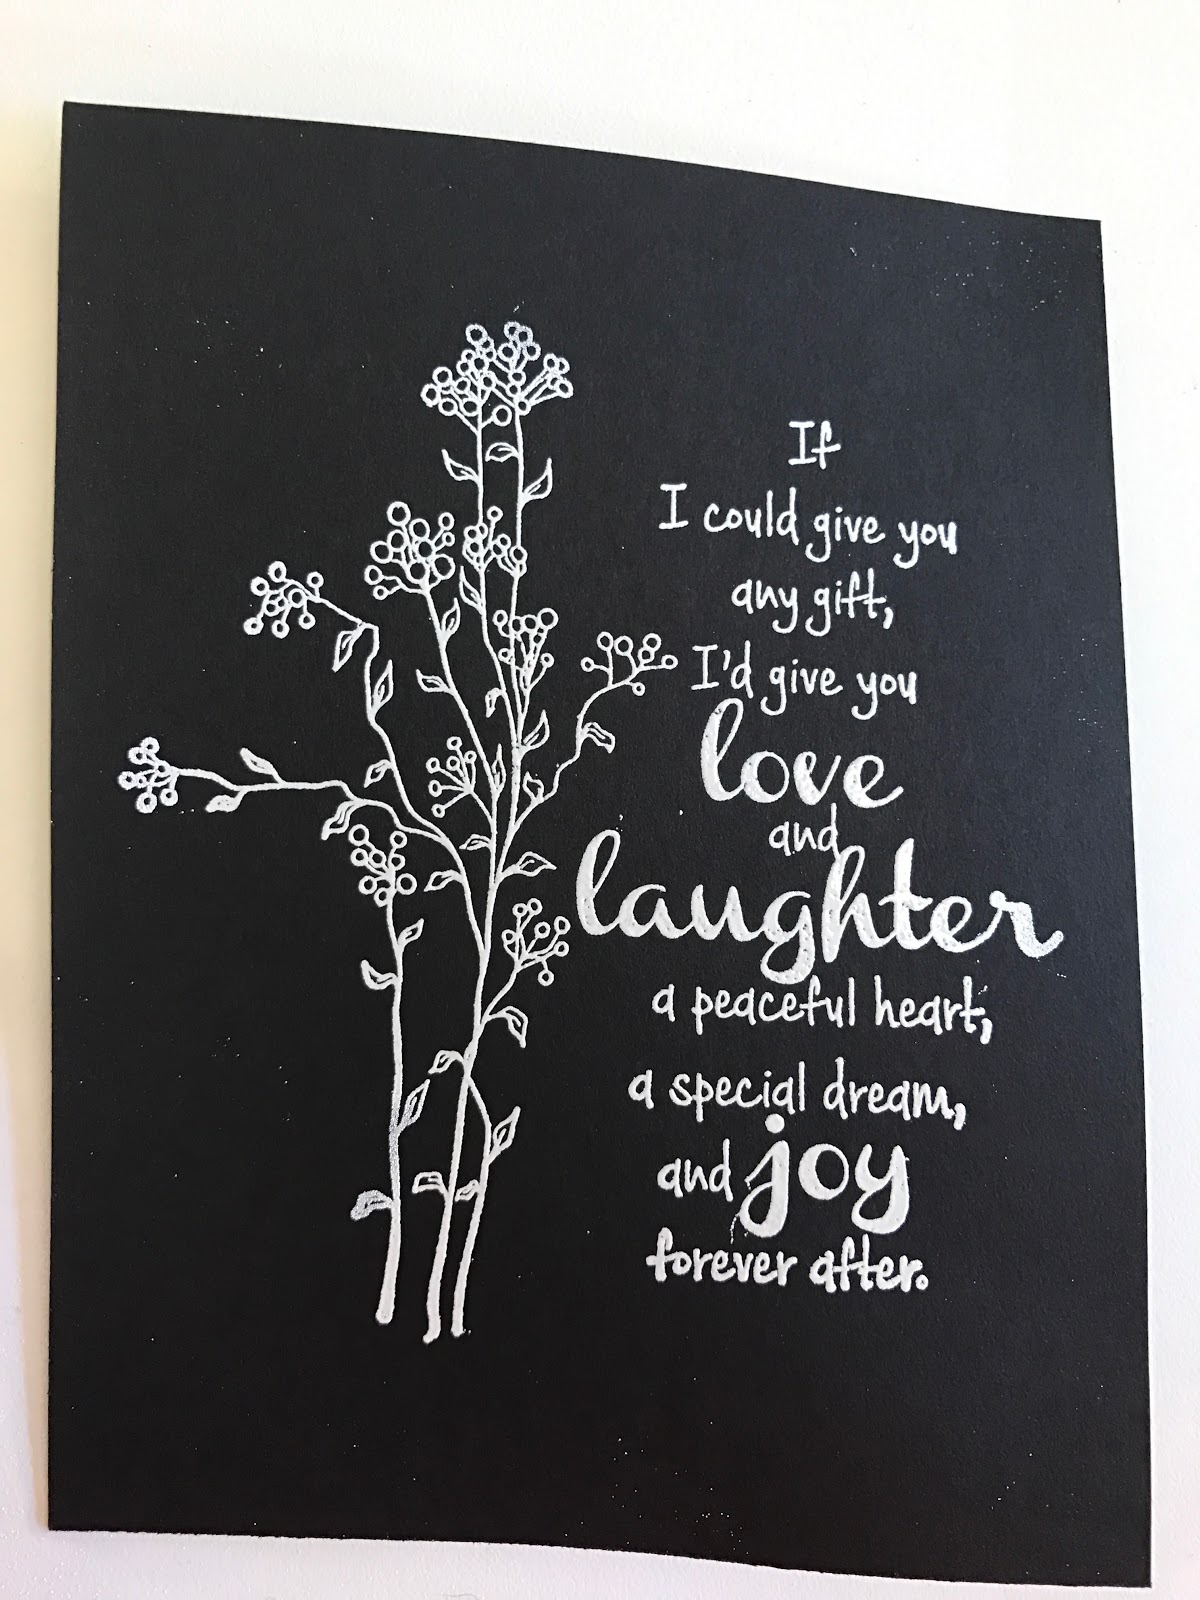
Start with black cardstock cut to size. 
Using Versamark ink, stamp Love and Laughterthen emboss with white embossing powder.
I used a Spectrum Noir marker to color in the words.
I then used Nuvo Crystal Drops to add color to the petals and leaves.
Then, simply take a makeup sponge and rub it on a piece of chalk.
Pounce onto the black cardstock adding the chalky film.
I then added some cutouts to the corners to frame the piece.

Happy Planner Page
Coffee Barcode (SD765) & Coffee Kitty (SD735)
I simply stamped that adorable Coffee Kitty on the corner of my planner with Versamark.
I then embossed with black embossing powder and colored with Spectrum Noir markers.
The Coffee Barcode was stamped with Memento Tuxedo Black.
Note on the upper right, I used Coffee Gauge (SD703).

Welcome Sweet Baby
Welcome Sweet Baby
I cut out the step card using my Silhouette Cameo. 
I then added some pink floral cardstock to the sides and bottom, along with some sparkly adhesive ribbon and buttons.
The booties image was stamped twice: once on the card base and again on a separate piece, which was then trimmed out.
The trimmed booties were then foam-taped to the base image.
I stamped two of the sentiments from the set, Welcome Sweet Baby.
The Welcome piece was diecut and matted with some white cardstock.
I wrapped a pink ribbon around the corner and adhered it to the card.
On the inside, I stamped the third sentiment from the set.

Buddies
Buddies
I am absolutely IN LOVE with this stamp!!! It is such a wonderful graphic, that I didn't even do much to it. It's so cute it just shines all on it's own!  I simply stamped Buddies on some brown cardstock using Memento Tuxedo Black ink. I trimmed it down and adhered it to the kraft card base with some foam tape. The sentiment is from the set Dog Quotes (S137). This will make a great masculine birthday card!

Hope you are enjoying the "hop"! Your next stop will be the wonderfully clever Beth Norman.  Here is the complete line-up in case you missed someone:


Til next time,
Keepin' It Inky!

The Robin's Nest: Halloween

I'm back again to share with you an adorable Halloween step card. These cards are so darn much fun to make!!!  And with the AWESOME Halloween papers from The Robin's Nest, how can you go wrong?? Just LOOK!!


I started out with a step card base (Silhouette Design #397733)using the Purple Crackle Glitter Cardstock from The Robin's Nest.  

I then cut out the haunted house (Silhouette Design #13333) using some amazing purple glitter cardstock from TRN. I cut out a second image with plain yellow cardstock (minus the windows)to highlight the details. 


Then I fussy-cut several images from Orange Bones (the bones for the fence), Halloween Stripe (pumpkins and the banner for the sentiment) and Spiderweb (small spiderweb) cardstock and added those elements to the steps of the card. I added a glitter cardstock bat to the 

I used the Boo Words cardstock and a circle punch to cut out my "boo" moon and adhered that and the adorable cheesecloth ghost. Notice the wobble in the moon!


I love how this card came together.  Here are some different views which really show the details and dimension:


I hope you take the time to check out these awesome papers (links below). For a limited time, you can save 20% on select stock! I'm feeling the Halloween spirit and can't wait to get started on my next project! 

Til next time, keepin' it crafty!

Supplies Used:

The Robin's Nest Cardstock:  Purple Crackle, Halloween Stripe, Orange Bones, Boo Words, Spiderweb, http://robinsnest-scrap.com/index.php?main_page=product_info&cPath=128&products_id=1742Witch Accessories (photography background); Chipboard Bats.

Other supplies:  sentiment (SU!), circle punch, Adirondak Ink, Glue Dots, glue, Silhouette Cameo.

FCCB #154

HAPPY EASTER!!!

...And I've Been Published Again!!


I can't believe it's Easter already.  And yet, there's still snow and blustery weather in the air.  I am so ready for Spring.  Especially since I just returned from a two week vacation in Florida and the Caribbean.  To go from 80's to the teens in a matter of hours....can I say Y U C K !?!

First up, a little good news....another of my cards has been published in the Scrap & Stamp Arts Magazine!  The June 2013 issue features my "Special Dad" Father's Day card submission.  And, it's under "Various Artists!"  Woo Hoo!!!  They think I'm an ARTIST!!!  (Doing a happy dance!)


But I don't know why they put by "Rosanne" instead of "Ro"....Grrrrr.  Oh well, it's a teensy issue in the grand scheme of life.

Next up:  FCCB Challenge #154 - Easter!

This week's Challenge Me Monday theme is Easter.  And I, along with the other Design Team members, have a project to share!  I knew I wanted to do a side-step card and I knew glitter would be involved (shocker, right?).  But that was all I knew.  But once I started thumbing through the Create A Critter 2 manual, it wasn't long before I had my design firmly scribbled on my idea pad.

So, without further delay, here is my cheery, Easter-y, glittery card:

FCCB Challenge #154
I cut out the chick at 3" and the eggs at 2" and 1".  Happy Easter was also at 1".  I love this cartridge!!


I had ordered some new cardstock from Cricut and I have to say...it is AWESOME!  Cuts like a dream!  This is the only cardstock I used on this project (with the exception of the base and background paper) and you can bet I will be using this all the time!


I also used a variety of Stickles to get my desired amount of "bling" and I'm very happy with how it turned out. Here are some close-ups...


Hope you have a wonderful Easter!  But first, head on over to Fantabulous Cricut and check out all the wonderful projects from the Design Team!  Hopefully you will be inspired to play along too!

Til next time, keepin' it crafty!

Saturday Sketch Challenge #748

Happy April, Crafting Friends! I hope your month has started out good and continues in a positive way.  I'm back today with another proj...