TRN/SMOOTHFOAM BLOG HOP

Ornament Hop!!!


Today I am playing along with The Robin's Nest and SmoothFoam in their ornament blog hop! Such fun!!  Here is the ornament I made, although I don't plan on hanging him from my tree...he is just going to stand around and keep me wintery company! lol


I call him my Corey-Bug Cowboy Snowman.  Why, you ask?  He is named after my son, Corey, who is affectionately called Corey-Bug. I have had this little cowboy hat since my son was in high school (several years ago) and had his senior pictures done. Look at this picture and you'll see the correlation!


See?  He's my little country boy from the north.  And when I decided to make my ornament, well, let's just say the hat fit! Literally! 

So here is how my lil Corey-Bug Snowman came to be. I started with the snowman smooth foam shape and hot-glued him to a wooden block (from one of the wooden stamps I unmounted...I knew they'd come in handy for something some day).  


I then pulled apart a couple of cotton balls and glued them to the base.


Next step were the face and buttons.  I used black Dew Drops for the buttons.  I found some teensy weensy black brads which worked great for the eyes and mouth.  I just put a tiny dab of glue on them and stuck them right into his head.  (He didn't feel a thing!)


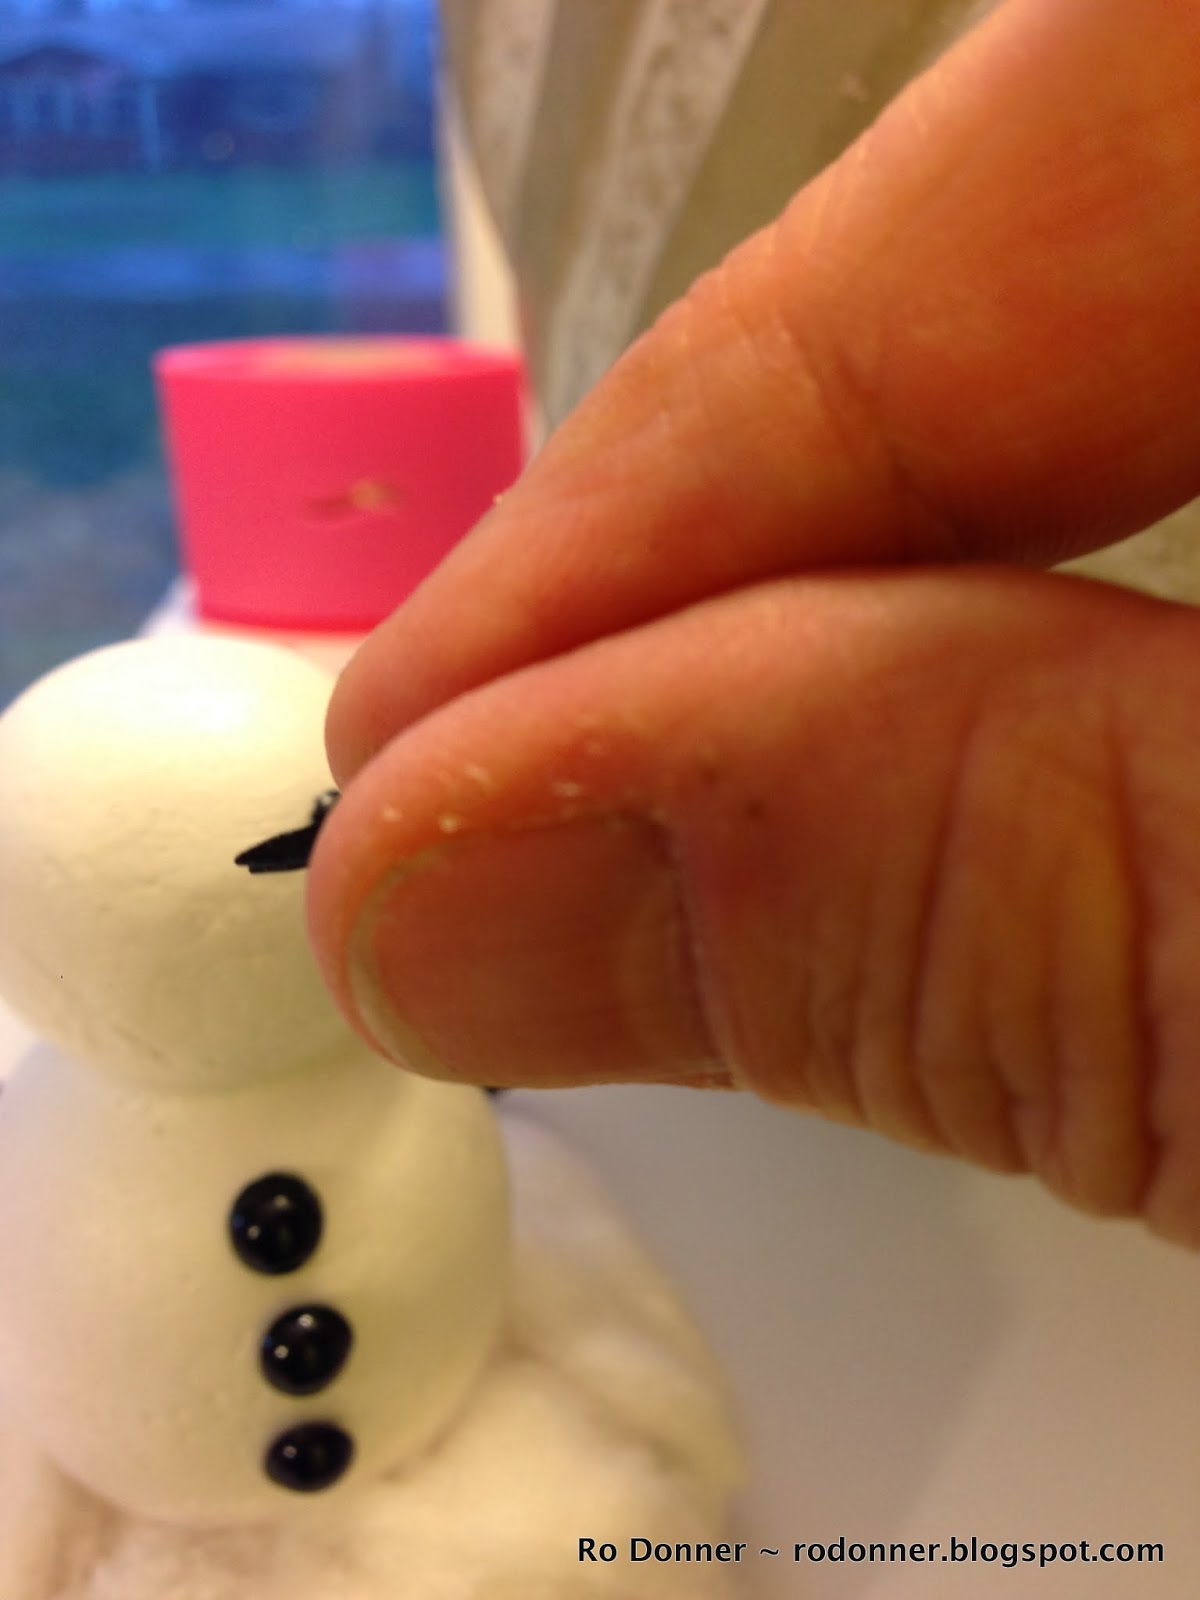
And his nose?  Oh, so clever.  I glued two of the orange diamond shaped Dew Drops together.


A dab of glue on the end and a slight push, and we have a nose! Hot glue on the hat, glue in a couple of twigs from the yard, and add a ribbon for a scarf...and we have a Corey-Bug Snowman! Don't ya just love his crooked little smile?


 Here are a couple more pics using beautiful Robin's Nest papers as a background.  Very appropriate!


So now I hope you will head on over to The Robin's Nest and play along!  There are even prizes!!!!  Go....now....play....enjoy!

Til next time, keepin' it crafty!

TRN Black & White

Doin' Christmas Up Right...In Black and White!


Merry Christmas, everybody!  I know it's still a little early, but I can't help being in the Christmas crafting groove with these awesome Robin's Nest supplies!  The theme this month is Black and White Christmas and I have been LOVING creating my cards!  If you missed my special post sharing some TRN Christmas cards, you can go here. (And remember...you'll receive 20% off any of the papers in the monthly theme at The Robin's Nest site.)

I chose to work with the Snow Covered Glitter Trees cardstock.  I have always been a fan of the beauty of snow-covered trees and this paper is breathtaking!  The second I saw it, I was inspired!


Here are my cut measurements:


I cut two pieces from the Snow Covered Glitter Trees to use on both the outside and the inside of the card. I also did that with the Red paper.  I stamped the deer on the section for the outside of the card and embossed them with black embossing powder.


I added some Red Glitter letters, to which I added some Xmas Red Stickles to give it a little more dimension and sparkle. I also added some red ribbon and some Dew Drops to accent the letters.


I created a Poinsettia style flower using the red diamond shaped Dew Drops with a black Dew Drop center.


For the inside of the card, I mimicked the basic style and matting of the front of the card and added a sentiment using Versamark ink and white embossing powder.


Supplies Used:

Purple Cows Co-Sponsoring This Month!

Also this month, Purple Cows is generously co-sponsoring!  So I decided to do a second card featuring a beautiful border punched with the Tonic Studios Vine Strip Pattern Punch.


This card features not only a beautiful border, but a very stunning Flame Swirl background (The Robin's Nest) stamped with gold embossed trees (Stampin' Up).  Outline stickers finish off the edges and a sentiment highlighted with Dew Drops completes the card.  Here are the measurements and supplies used:


I mounted the flame cardstock onto the gold cardstock, and then mounted that onto the black card base. I added outline stickers along the border and stamped the trees with Versamark. I then heat embossed them with gold embossing powder.


I then embossed the sentiment with gold onto black cardstock, and mounted that on the card with a couple of gold Dew Drops.  I added a touch of glitter to the main star.


Here are a couple of close-ups so you can really see the detail:


For the inside of the card, I kept it very simple:


I have to say that those Tonic punches are rock stars!  The gold cardstock that I used was fairly heavy and the punch went through it like butter with little pressure from me.  I can't wait to get my hands on a couple more of these little giants.

Supplies used:
Thanks for letting me share my cards with you!  I hope you will be inspired to try these beautiful Robin's Nest papers and embellishments.  And be sure to visit our co-sponsor this month: Purple Cows.

And stay tuned...The Robin's Nest and SmoothFoam are co-sponsoring an ornament blog hop here starting November 15th (tomorrow)!  See the info in my side bar!

Til next time, keepin' it crafty!

FCCB #186: Ribbons and Buttons

Buttons and Bows...


My daughter asked me to make a 50th birthday card for her boss, and since I needed to do a project anyway....a 50th birthday card I did!

The challenge at FCCB this week is to use at least one button and one ribbon.  Mission accomplished!

I have to apologize that I didn't use more Cricut cuts on this. Unfortunately, I updated my Mac software to the new Mavericks, and the Cricut Craft Room hasn't learned how to play nice with it yet. I got a little frustrated and called it quits with what I had cut out.  Sorry.  But sometimes, that's just how it goes. Plus, I'm coming down with my quarterly bout of bronchitis, so I'm not feeling the perkiest!)

But I did manage to put together a neat little card, despite myself.  


Here is the basic layout. I created a swing card.


I cut the swirls from Cricut Essentials, and the rest of "stuff" was from my stash.  The shiny paper is from DCWV, the larger silk flower is from Bazill, and the remainder of the stuff is either Recollections or unknown.

Here are some close-ups for your viewing pleasure.


I hope you enjoyed the short and sweet of it all.  Please join us over at Fantabulous Cricut Challenge Blog for this weeks contest. Head over there now to see what the other fabulous designers have to share with you!

Also, FCCB is currently looking for a few DT members to add to their wonderful group.  Go HERE and check it out. We would love to have you join us!

Til next time, keepin' it crafty!


TRN Special Post

Getting My Christmas Card-Making Groove On


I just couldn't wait for my next post for The Robin's Nest.  So I am sharing a "special edition" on my blog.  I have done a couple of cards with some of their "wintery" cardstock and supplies and just had to post them!


Here is the first one:


I have to tell ya....TRN has some of the most A.M.A.Z.I.N.G. cardstock!  It's such a nice weight and the graphics and texture and glitter are of such great quality.  Here is a picture of the basic supplies used and cut sizes for the cardstock.


I layered all the elements, popping up a couple of layers with foam tape.


Foam tape added to the back of the red layer and the sentiment layer.
Once the layers were assembled, I added the snowflake and Dew Drops from TRN.


I decided to finish the inside of the card with another sentiment and some more of the luscious red cardstock, and a couple more glittered snowflakes.


Supplies Used:  Red Cardstock, Dew Drops, Black and White Pine Tree Cardstock, Glittered Snowflakes (all from The Robin's Nest); stamps from HOTP Christmas Cheer; Cranberry Crisp Ink from Stampin' Up; foam tape and adhesive; white cardstock; ribbon.

For the second card, I chose a Red Snowflake paper from The Robin's Nest.


Here is the breakdown:


I layered up the cardstock and ribbon, then adhered them together.


I added the snowflake clips, a couple of diamond shaped Dew Drops and some Barn Red Stickles (heart) to finish off the front of the card.


For the inside, I used a simple layer and sentiment.


This card ended up with a sort of nostalgic feel to it, and I like that!


Supplies used:  Red Snowflakes Cardstock, Snowflake Clips and Diamond Dew Drops (all from The Robin's Nest); Barn Door Stickles; Jet Black StayzOn Ink; HOTP Christmas Stamps; Ribbon, Black and White Cardstock

And if you're not too bored with me yet (how could you be with these great papers?!), I'd like to share one more card.

I just had to do one more with the Black and White Pine Cardstock.  


I added elements from the Hunter Classic Glitter Cardstock and some gold cardstock. Here are the measurements.


I die cut the scalloped oval and cut it in half.  I also die cut the oval for the sentiment and lightly inked the edges while still in the die frame.  I cut one more strip of gold cardstock and vee'd the edges to resemble a ribbon.  I added a couple of snowflakes and some Dew Drops to finish off the accents.


For the inside of the card, I again kept it fairly simple.  Some cardstock, a sentiment, and some corner accents.  The sentiment was embossed in gold.


Supplies Used:  Black and White Glitter Pine Tree Cardstock, Hunter Classic Glitter Cardstock, Dew Drops (all from The Robin's Nest); White Cardstock, Gold Cardstock, HOTP Christmas stamp set, Hunter Green Ink from Stampin' Up; Versamark Ink; Gold Embossing Powder; Snowflakes; Cuttlebug; Spellbinders Dies

Thanks so much for letting me take up your time.  I enjoyed sharing and hope you got some inspiration and ideas.

Til next time, keepin' it crafty!

Saturday Sketch Challenge #748

Happy April, Crafting Friends! I hope your month has started out good and continues in a positive way.  I'm back today with another proj...