
ROBIN'S NEST DT WANNA-BE!
Hey, crafty friends! I found a new source for my "habit". Actually, they aren't new. They've been around for a while and are celebrating their 15th Anniversary. They are new to me, though. I came across them a short time ago and was impressed with the wonderful selection of products they have, especially their Dew Drops. Who is this amazing group? Why, it's The Robin's Nest!

Did you do it? Were you amazed?
Glad you're back, cuz I need your good vibes! They are having a Design Team call and I am R.E.A.L.L.Y "jonesing" to get on this team! Those of you that follow me know I always like to include a little bling on my projects, and their Dew Drops could be SO addicting for me. Well, DT or not, I'll probably still be addicted to them. lol
If you'd like to see some great ideas and use of of their products, check out their blog: http://chatteringrobins.blogspot.com
So, I thought and I doodled and dug and designed. And heeeeeeeeere's my card:

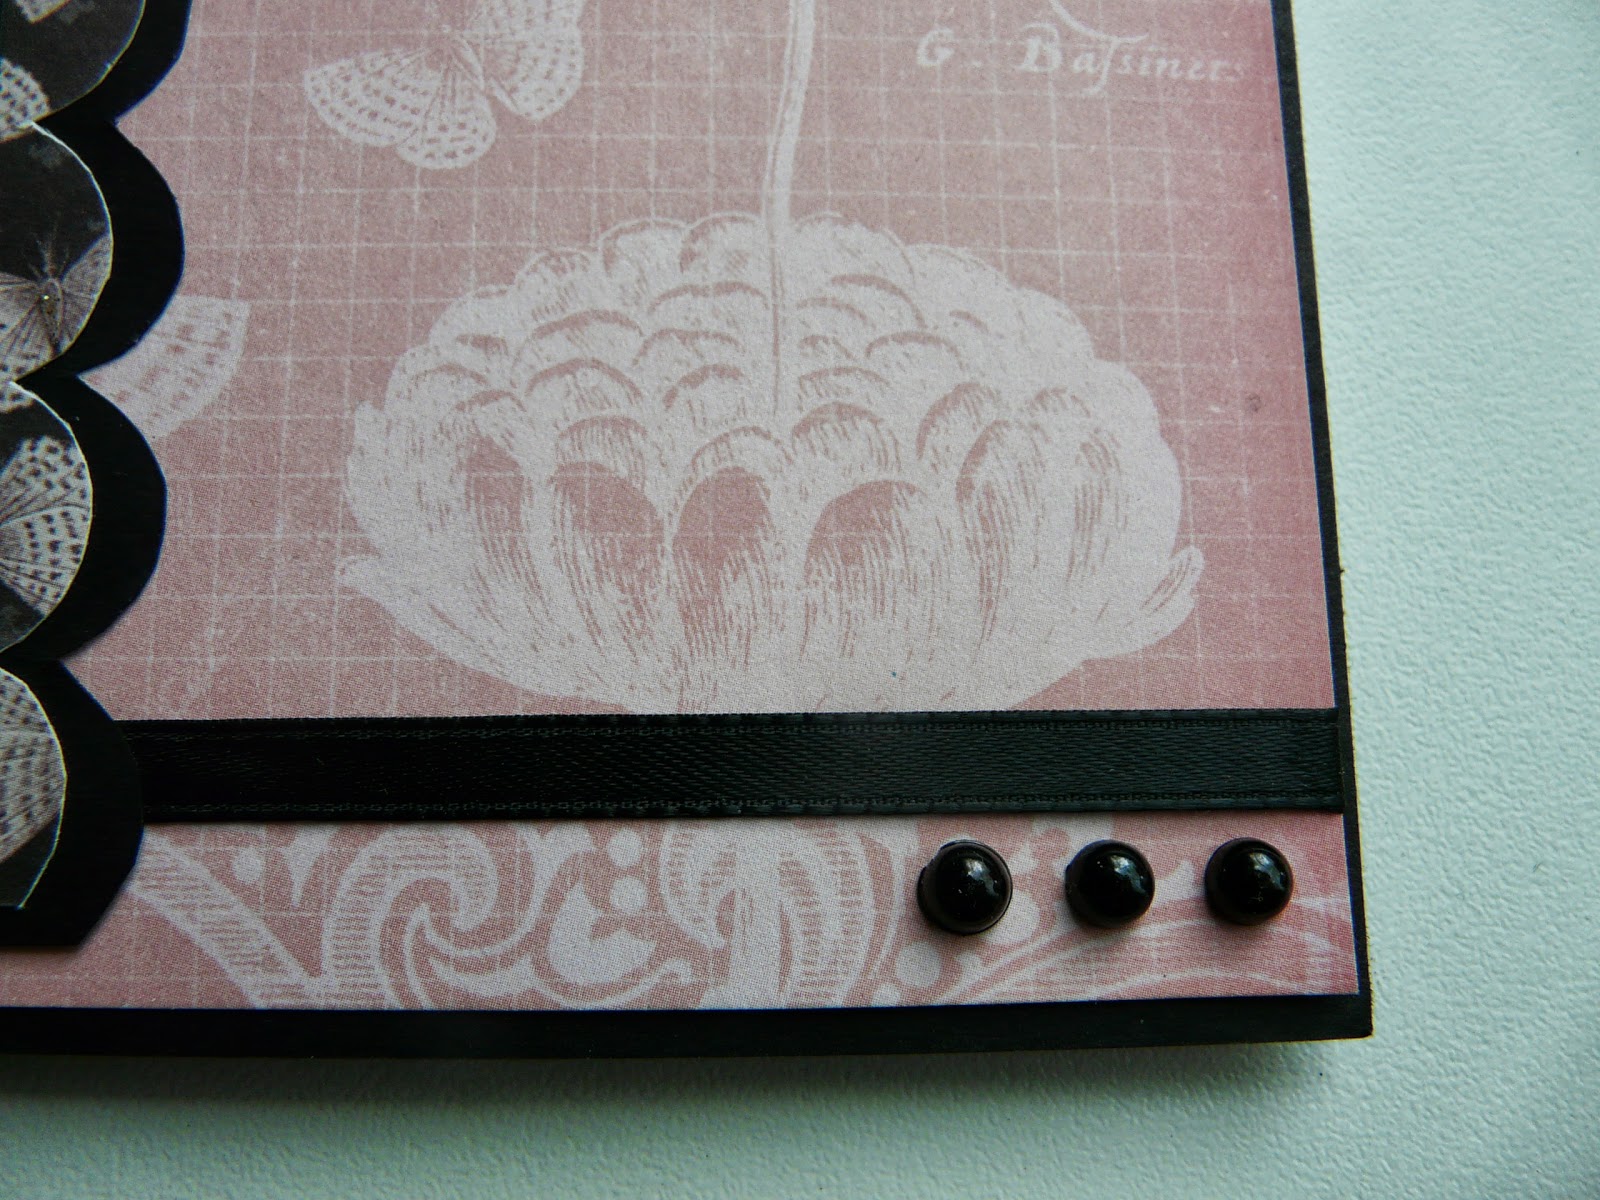
I really love the color combination. Soft with a kick. The black accents just makes the pink colors really pop. And there's a soft little bling element too. What do ya think? Here's a couple more pics, including the inside of this card (which I also love!).


Ok, so here is what I used:
- Black Cardstock from Recollections - card measures 5.5" x 5"
- Designer Cardstock from DCWV's Mariposa Matstack
- Adhesive Faux Pearls from Recollections (wouldn't the Dew Drops look fabulous here?)
- Stamps from Paper Wishes' HOTP: Serendipity Flowers
- Black Ink is Staz-On
- Ribbon is from my "stash"
I first cut the card base and wrapped the ribbon on the first layer of designer paper. I hand cut the scallop mat and top layer using a template for the design. I cut and adhered the base for the inside of the card, as well as the mat and top layer. I then stamped the butterfly and sentiment on the inside.
The front layers were cut and adhered, the stamping added, and then I added the black jewels.
Well, there you have it! Keep your fingers cross and show me some love!


1 comment:
pretty, thanks for your application to be apart of the Robin nest DT
Post a Comment